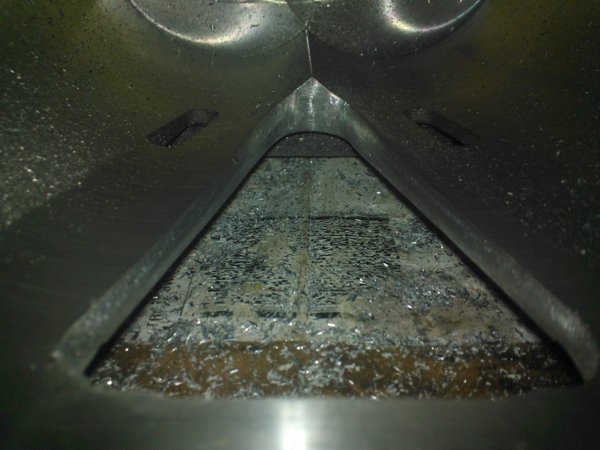
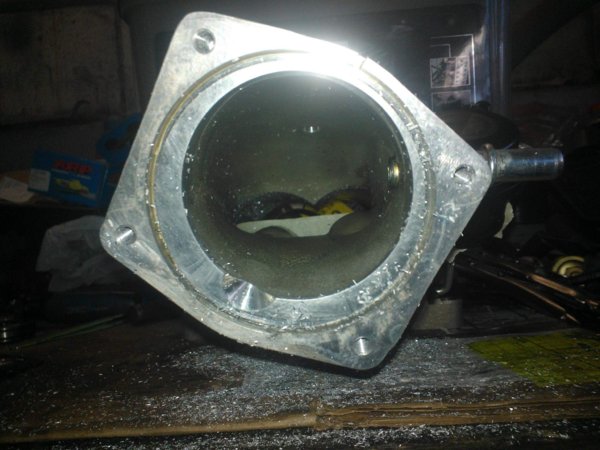
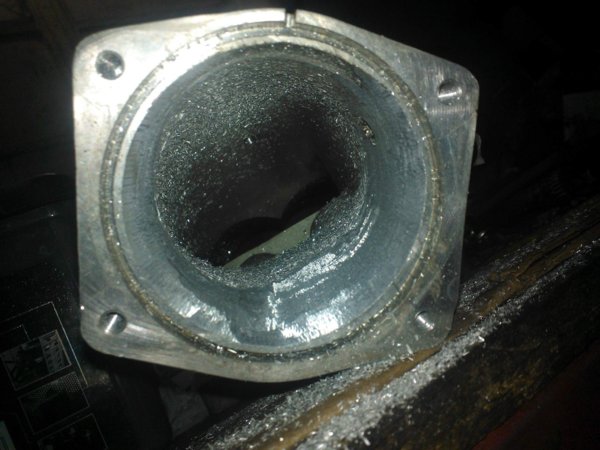
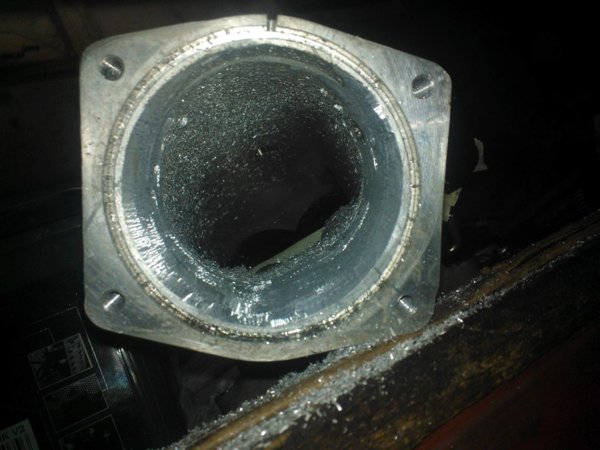
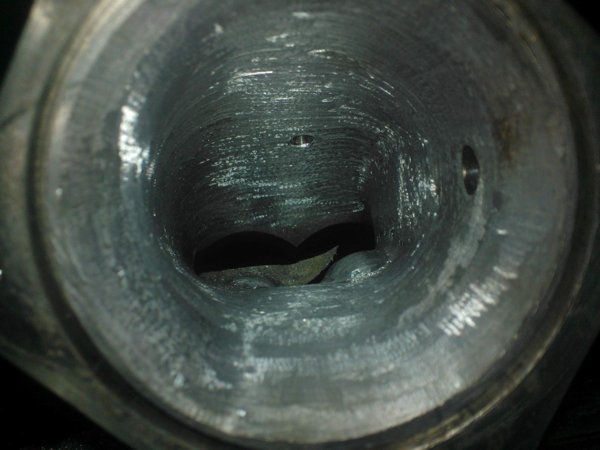
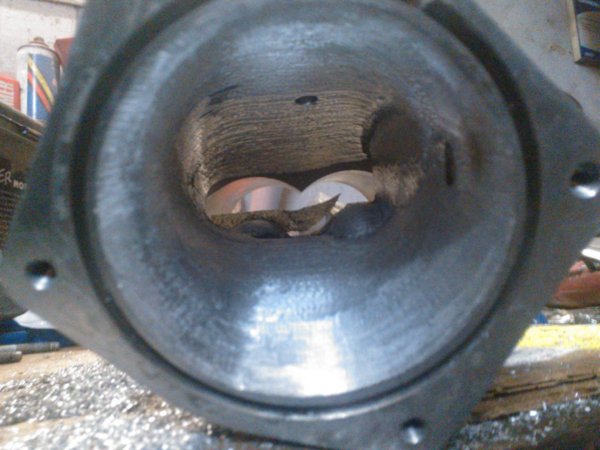
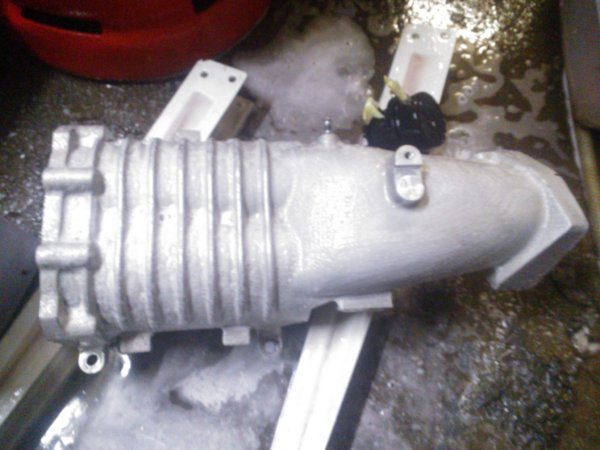
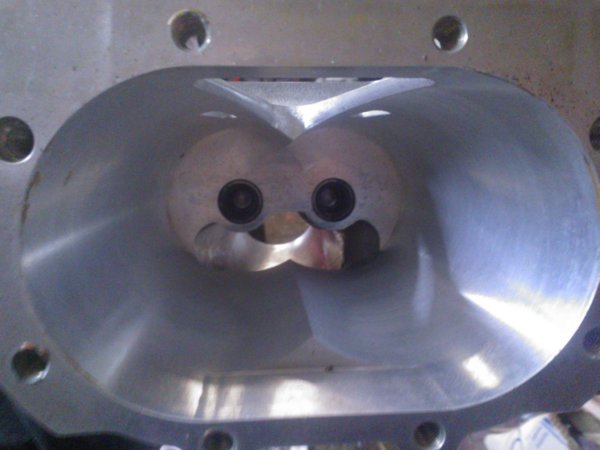
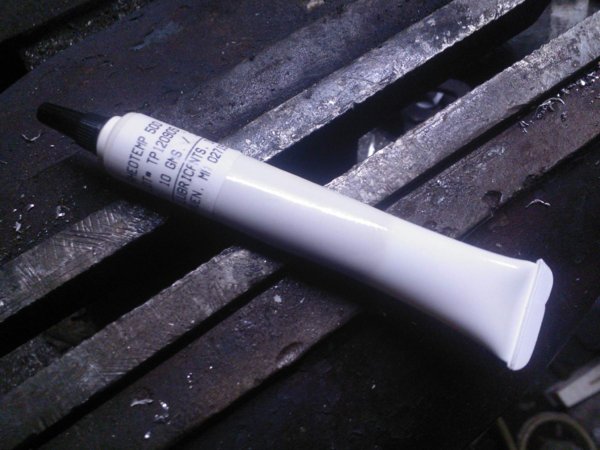
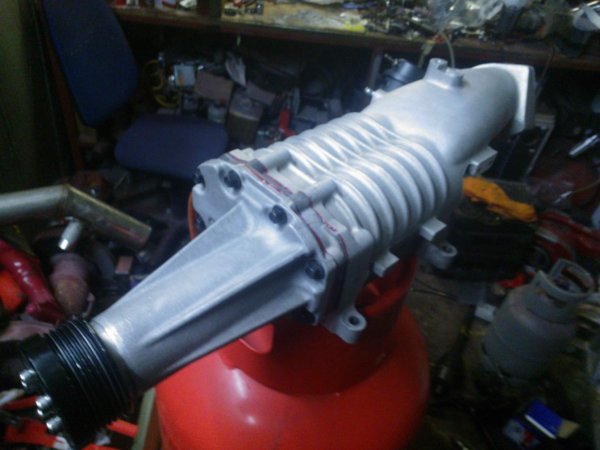
got bored so i took my supercharger apart 
step one rebuild and clean the snout
the snout contains 2 bearings and a twin lip viton seal
1x 6204 c3 (must be c3 rating for high speed oll/heat clearance)
1x 6203 c3 (must be c3 rating for high speed oil/heat clearance)
1x 20x47x7-R21(must be viton) (its pretty hard to find a twin lip seal in 7mm wide but the single lip will work just fine r21= single - r23 = twin lip)
with the oil drained and the bolts removed the case can be tapped apart with a hammer stale like so
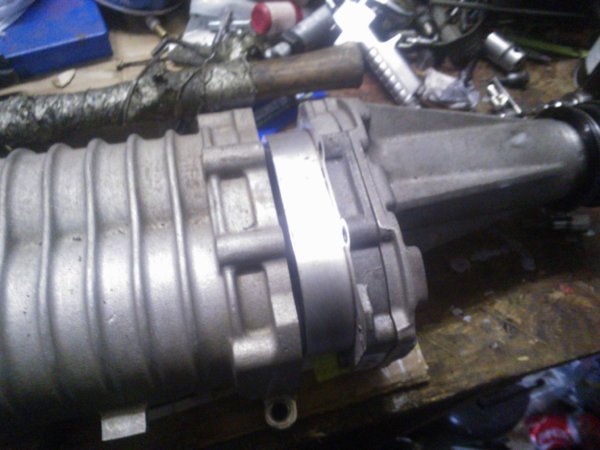
with the pulley and hub removed from the snout shaft the shaft can be removed by fitting a m8 bolt in the end of the shaft
placing the alloy casing on 2 blocks of wood then tapping the shaft down and out
then remove the retaining ring for the seal with a thin flat screwdriver
use a suitable size drift to tap the end bearing and seal from the case i used to blocks of wood upended to hold the case up
and the random drive shaft on the floor was used as a drift
heres the the shaft and bearing/seal/clip removed from the snout
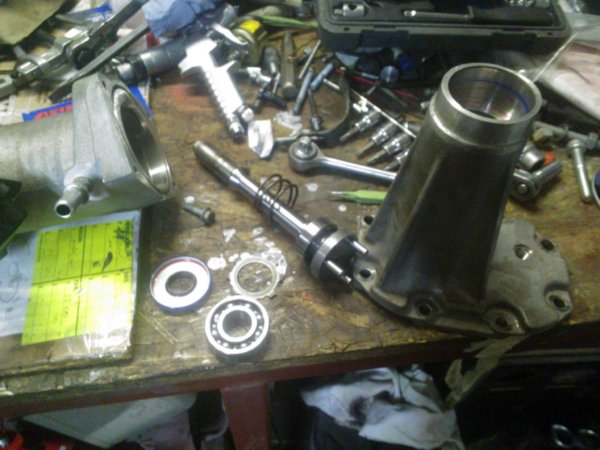
to remove the inner bearing you will need a good quality bearing puller
i used a brass cap on the end of the puller shaft to stop it marking it up
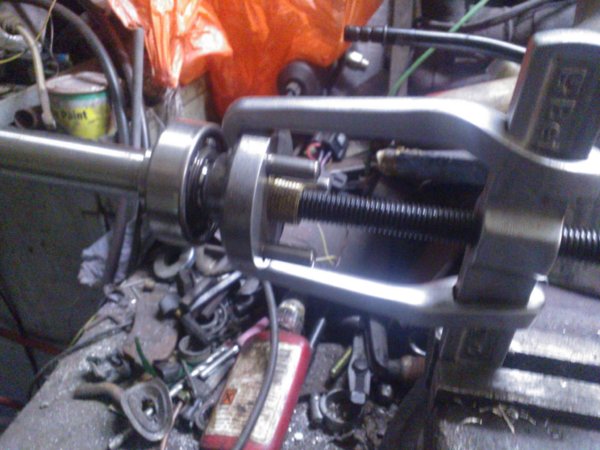
next we do the same thing for the bearing
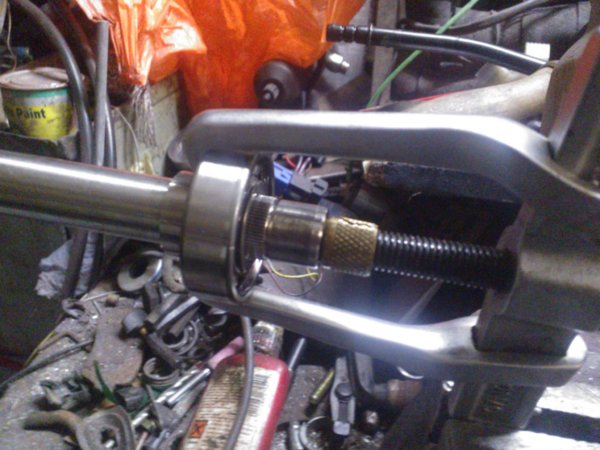
with the shaft clear of bearings i unpacked the new bearings and removed the dust seals (must not be fitted with them in place)
they can be removed with a small screwdriver pop and twist
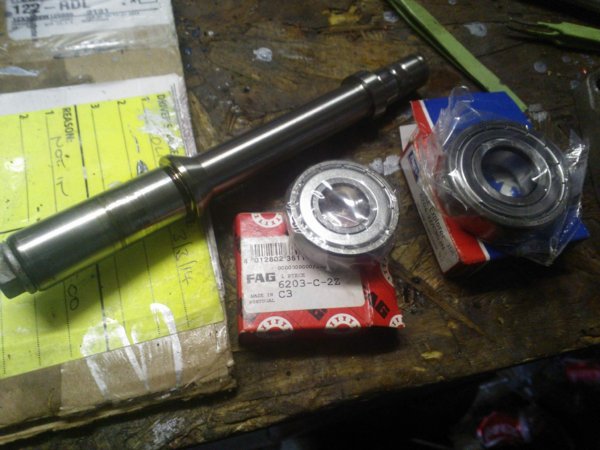
the bearing was tapped on to the shaft with some old bearing shells i had about
be sure to only hit the centre on the new bearing you don't want to bruise it by hitting it on the outside edge
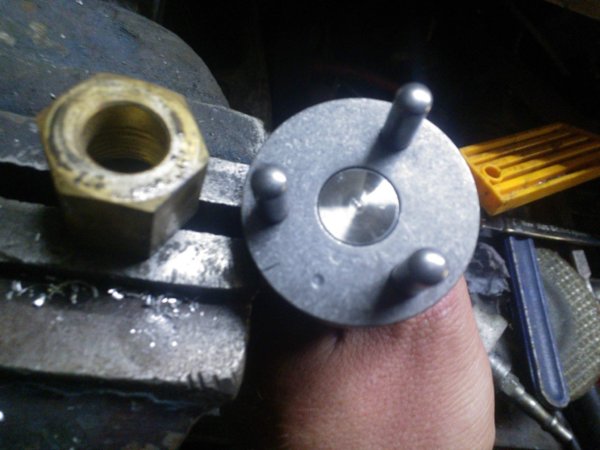
the snout drive was then tapped in place with a large brass nut and hitting the m8 bolt in the other end of the shaft
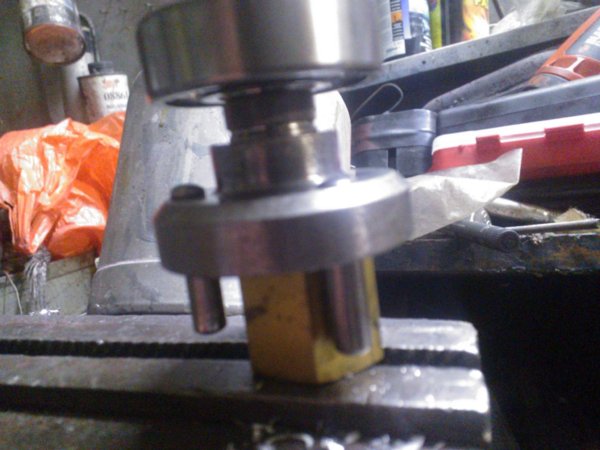
here's why we use brass no marks
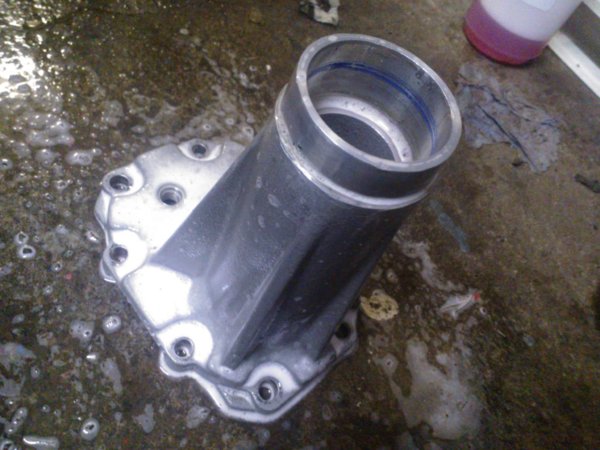
the snout body was then cleaned with lashings of 1:1 TFR and a scrubbing brush
the outer bearing was tapped in to the snout body with a 30mm socket till it hit home outside of the bearing only
the inner bearing is floating and has a spring behind it to take up the slack
with the shaft inserted in the snout and thru the new outer bearing i used 2 m10 nuts and 2 old bearings with a long m8 bolt 2 washer to pull the shaft into the snout and outer bearing
refitted the seal and retaining ring then used the 2 old bearings and the long m8 bolt to pull the pulley hub on to the shaft
a screwdriver was used in the pins in the other end of the shaft to hold it still while tightening the bolt down
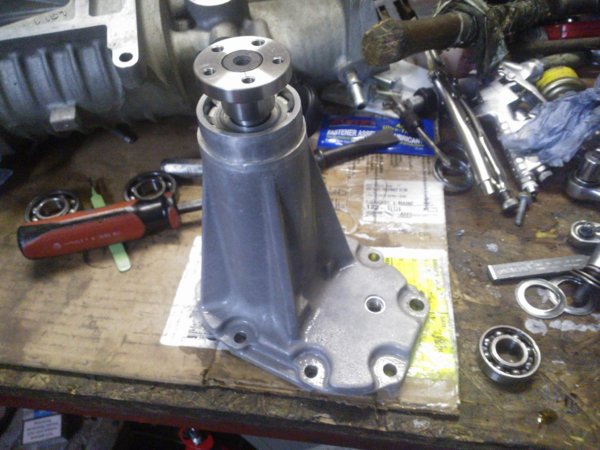
here's the rebuilt snout all clean and ready to roll
TO BE CONTINUED!
step one rebuild and clean the snout
the snout contains 2 bearings and a twin lip viton seal
1x 6204 c3 (must be c3 rating for high speed oll/heat clearance)
1x 6203 c3 (must be c3 rating for high speed oil/heat clearance)
1x 20x47x7-R21(must be viton) (its pretty hard to find a twin lip seal in 7mm wide but the single lip will work just fine r21= single - r23 = twin lip)
with the oil drained and the bolts removed the case can be tapped apart with a hammer stale like so

with the pulley and hub removed from the snout shaft the shaft can be removed by fitting a m8 bolt in the end of the shaft
placing the alloy casing on 2 blocks of wood then tapping the shaft down and out
then remove the retaining ring for the seal with a thin flat screwdriver
use a suitable size drift to tap the end bearing and seal from the case i used to blocks of wood upended to hold the case up
and the random drive shaft on the floor was used as a drift
heres the the shaft and bearing/seal/clip removed from the snout

to remove the inner bearing you will need a good quality bearing puller
i used a brass cap on the end of the puller shaft to stop it marking it up

next we do the same thing for the bearing

with the shaft clear of bearings i unpacked the new bearings and removed the dust seals (must not be fitted with them in place)
they can be removed with a small screwdriver pop and twist

the bearing was tapped on to the shaft with some old bearing shells i had about
be sure to only hit the centre on the new bearing you don't want to bruise it by hitting it on the outside edge
the snout drive was then tapped in place with a large brass nut and hitting the m8 bolt in the other end of the shaft

here's why we use brass no marks

the snout body was then cleaned with lashings of 1:1 TFR and a scrubbing brush

the outer bearing was tapped in to the snout body with a 30mm socket till it hit home outside of the bearing only
the inner bearing is floating and has a spring behind it to take up the slack
with the shaft inserted in the snout and thru the new outer bearing i used 2 m10 nuts and 2 old bearings with a long m8 bolt 2 washer to pull the shaft into the snout and outer bearing
refitted the seal and retaining ring then used the 2 old bearings and the long m8 bolt to pull the pulley hub on to the shaft
a screwdriver was used in the pins in the other end of the shaft to hold it still while tightening the bolt down
here's the rebuilt snout all clean and ready to roll

TO BE CONTINUED!
