heres a quick how to change the seals and dust covers on the standard Astra G front ATE caliper the seal kit was supplyed by http://biggred.co.uk/
and thanks to big red for there great service
Remove the caliper from the car and empty the remaining brake fluid from the pot
you can see with this one the dust cover is swollen for the use of black grease
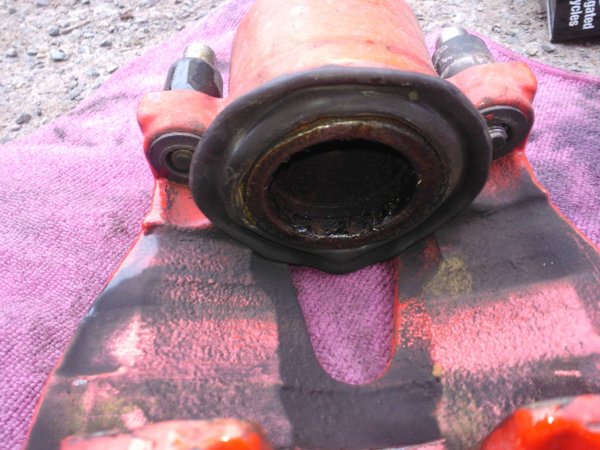
use an allen key or similar item with a flat end to push the pot out of the caliper body thru the brake pipe hole on the rear
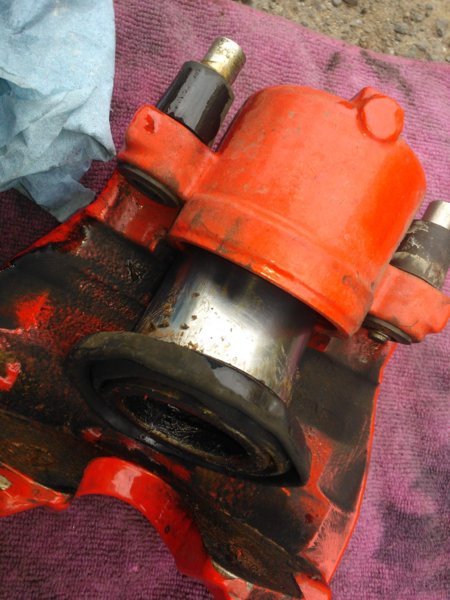
once the pot is out the dust cover and inner seal can be discarded
use a small tip screwdriver to prize out the old piston seal from its groove
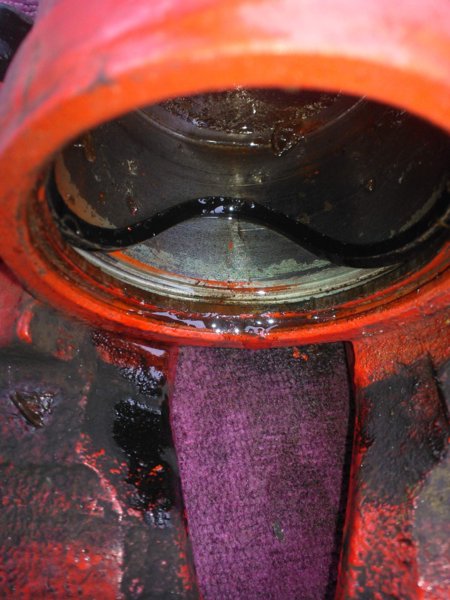
remove the sliding pins from the rubbers and then push out the rubbers with a screwdriver from the inside to the out
heres all the old parts
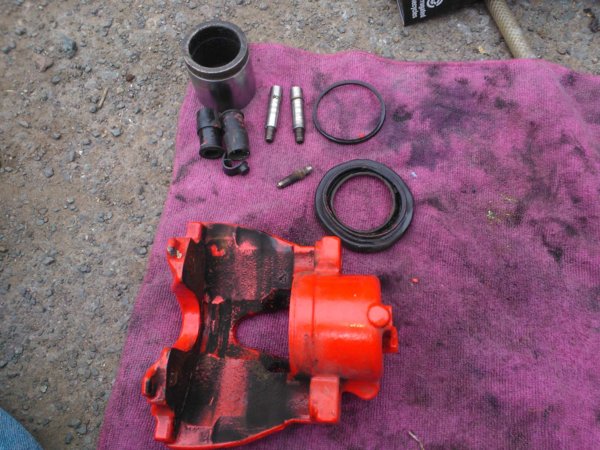
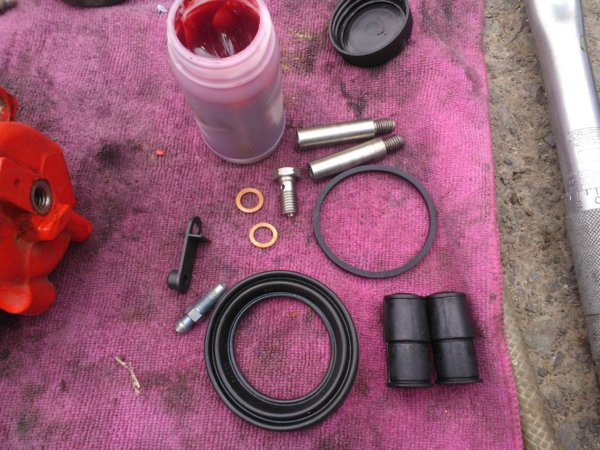
and the new parts to be fitted including RED caliper grease this time
wipe out the inside of the caliper body and remove any debris
also be sure the groove for the piston seal is clean and clear
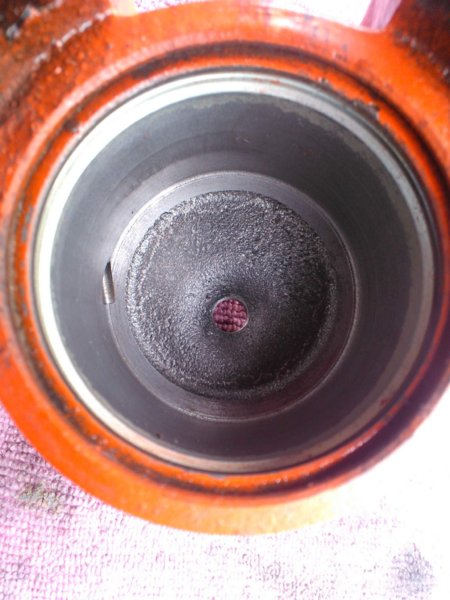
now the inside is clear the new piston seal can be fitted
add a smear of red grease to the new seal and slide it into the groove
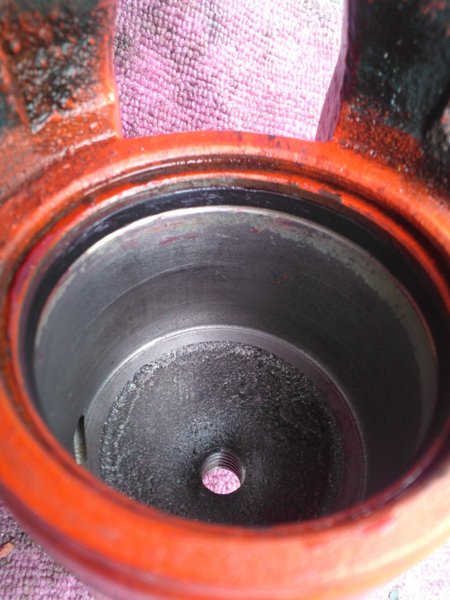
apply a little smear of red grease to the piston to aid its insertion
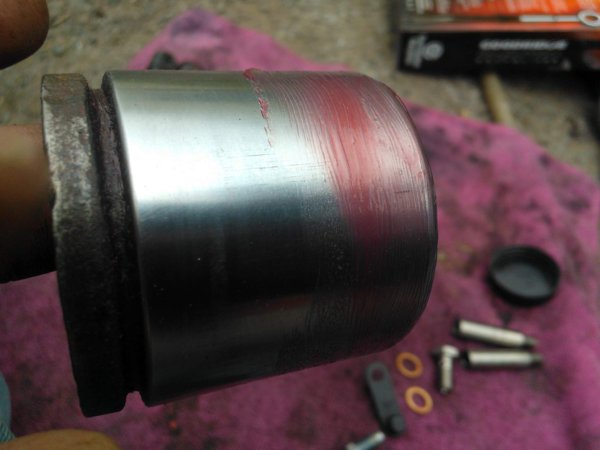
put a smear of red grease on the inside of the new dust cover and fit it to the back edge of the piston leaving the fitting groove out
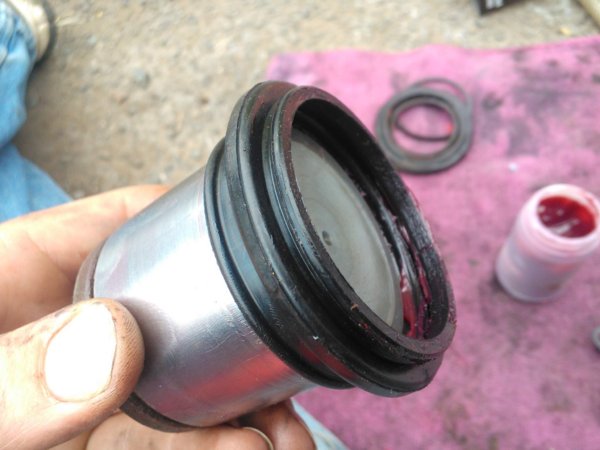
heres an example of how the dust cover fits to the caliper body without the piston in place
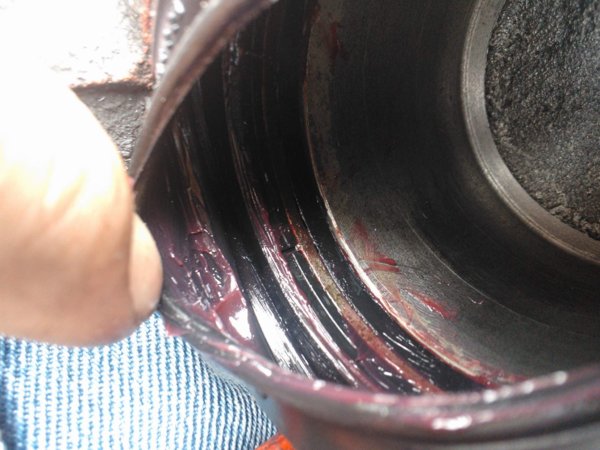
next step is to take the piston and dust cover put the lower edge of the dust seal in the groove and work it into place all the way round
it should look like this you're now ready to gently slide the piston back into the caliper body
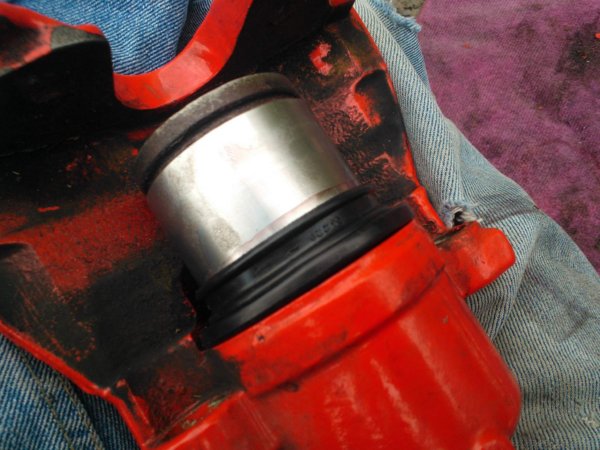
it should be pushed in squire and even until it hits the back it will also now be free moving and not stiff in any way
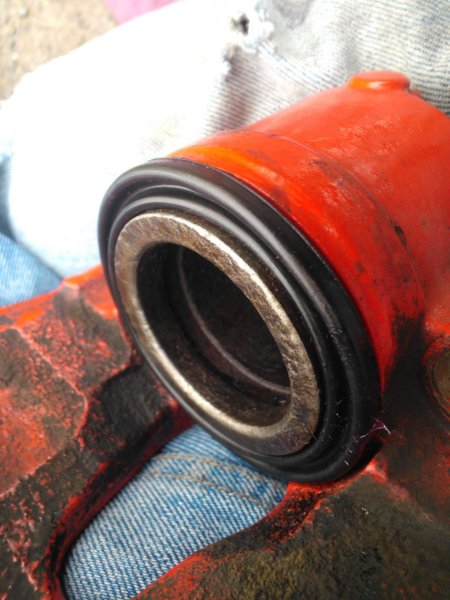
you can slide the piston in and out a few times to make sure it ok
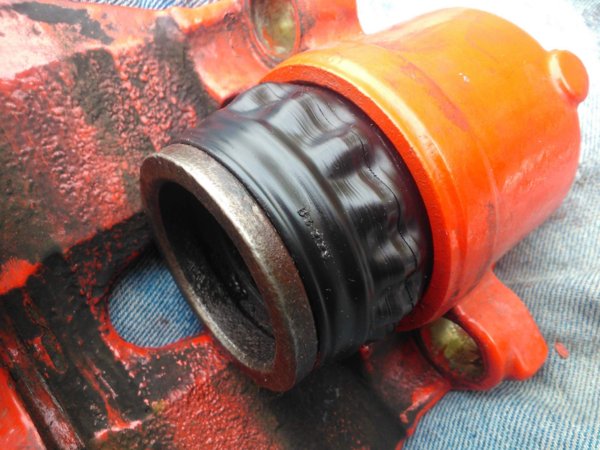
at this point a new bleed nippel and dust cover were fitted
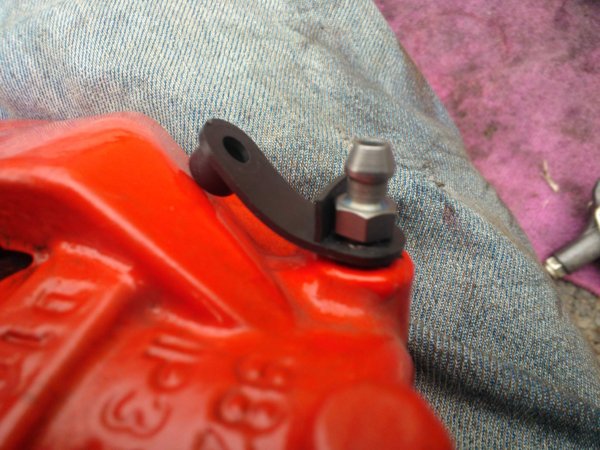
the new sliding pin rubbers can now be fitted add a little red grease to the flat end of the rubber
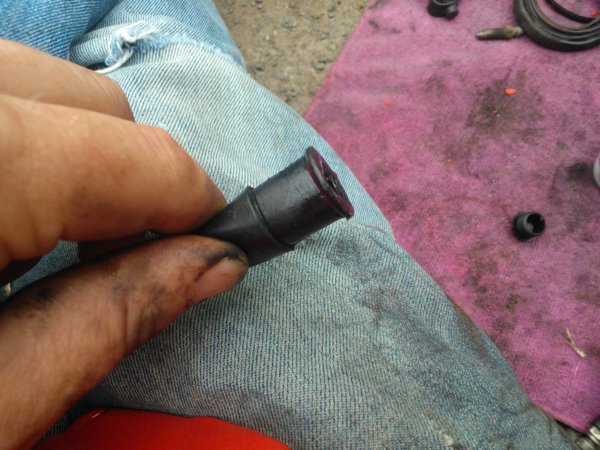
push it in at an angle to get it all in the hole then a firm push to the rubber gets all the way thru and sits right
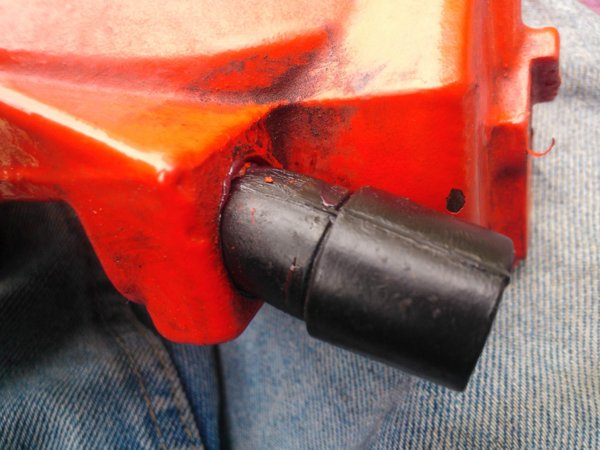
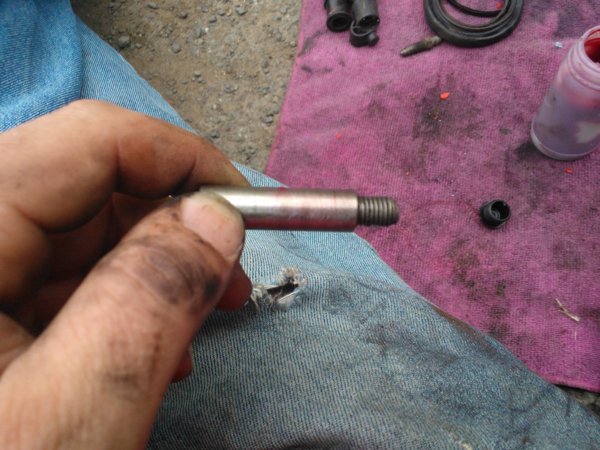
grease up the sliding pins and fit inside the rubbers but not to far to stop you fitting the caliper to the car
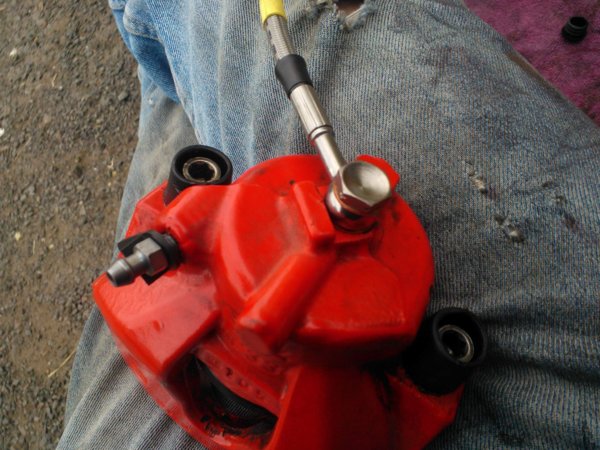
i fitted new stainless brake lines in this process so they were put on the caliper with new copper washers and a stainless steel banjo bolt
the caliper can now have the inner brake pad pushed inside the piston and refitted to the car
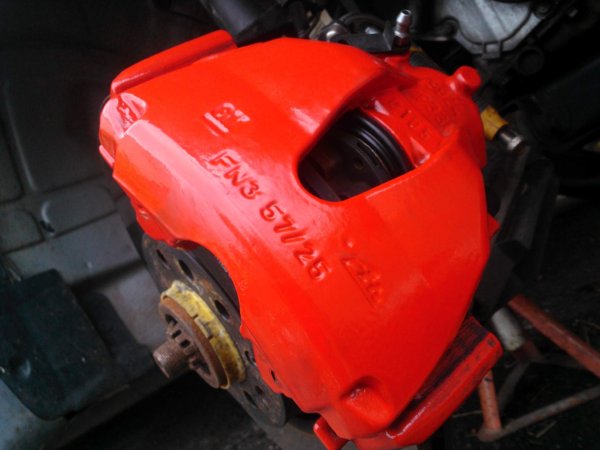
bolt in the sliding pins to hold the caliper to the carrier
and fit the dust caps to the rubbers
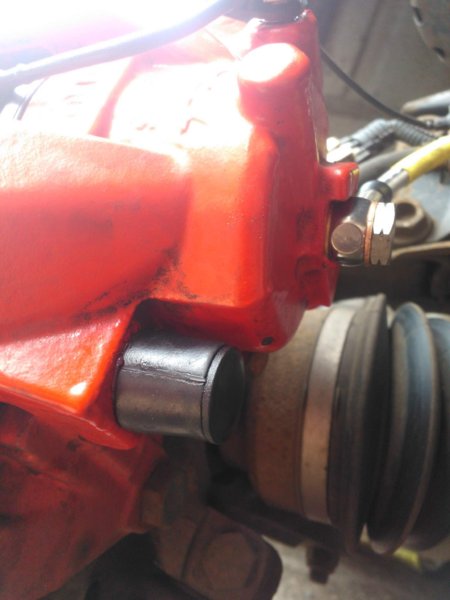
then refit the extra items like outer spring clip and brake pad wear sensor dont forget to bleed the caliper once its all a sealed system again
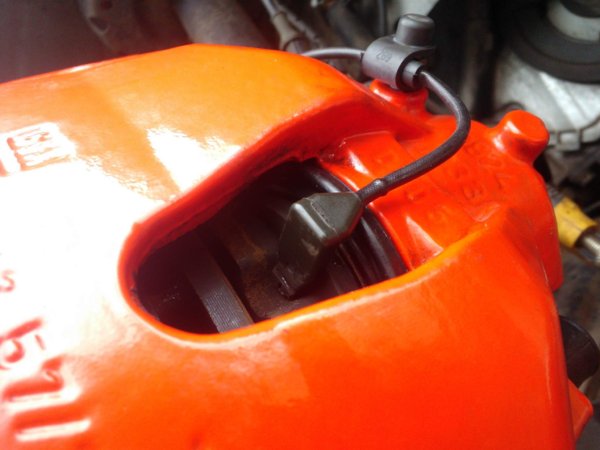
tomorrow i will do the other side and try and get the rebuild on video
and thanks to big red for there great service
Remove the caliper from the car and empty the remaining brake fluid from the pot
you can see with this one the dust cover is swollen for the use of black grease

use an allen key or similar item with a flat end to push the pot out of the caliper body thru the brake pipe hole on the rear

once the pot is out the dust cover and inner seal can be discarded
use a small tip screwdriver to prize out the old piston seal from its groove

remove the sliding pins from the rubbers and then push out the rubbers with a screwdriver from the inside to the out
heres all the old parts

and the new parts to be fitted including RED caliper grease this time

wipe out the inside of the caliper body and remove any debris
also be sure the groove for the piston seal is clean and clear

now the inside is clear the new piston seal can be fitted
add a smear of red grease to the new seal and slide it into the groove

apply a little smear of red grease to the piston to aid its insertion

put a smear of red grease on the inside of the new dust cover and fit it to the back edge of the piston leaving the fitting groove out

heres an example of how the dust cover fits to the caliper body without the piston in place

next step is to take the piston and dust cover put the lower edge of the dust seal in the groove and work it into place all the way round
it should look like this you're now ready to gently slide the piston back into the caliper body

it should be pushed in squire and even until it hits the back it will also now be free moving and not stiff in any way

you can slide the piston in and out a few times to make sure it ok

at this point a new bleed nippel and dust cover were fitted

the new sliding pin rubbers can now be fitted add a little red grease to the flat end of the rubber

push it in at an angle to get it all in the hole then a firm push to the rubber gets all the way thru and sits right

grease up the sliding pins and fit inside the rubbers but not to far to stop you fitting the caliper to the car

i fitted new stainless brake lines in this process so they were put on the caliper with new copper washers and a stainless steel banjo bolt

the caliper can now have the inner brake pad pushed inside the piston and refitted to the car

bolt in the sliding pins to hold the caliper to the carrier
and fit the dust caps to the rubbers

then refit the extra items like outer spring clip and brake pad wear sensor dont forget to bleed the caliper once its all a sealed system again

tomorrow i will do the other side and try and get the rebuild on video